Adding features from a Shapefile
To add features from a shapefile you can either :
There are a number of options for adding a layer to your map.
Toolbar
- Press the New button on the toolbar to show the Add Layer Wizard
- Select the Add item from the Layer menu to show the Add Layer Wizard.
- Use the Add Layer wizard to select a service providing data
- Select the resource you wish to display
- A style will be automatically created for you and the layer added to your map
Using Filesystem
From filesystem to Layer View:
- You can directly drag a file (such as an image or shapefile) into the Layer view
- You can specify exactly where in the Layer view you wish the add the Layer
- The layer will be created with a default style and added to your Map
From filesystem to Map editor:
- You can directly drag a file (such as an image or shapefile) onto an open map
- The layer will be created with a default style and added to your Map
Using a Browser
You can quickly add a layer from a web browser (or the embedded Web view):
- Drag the URL of a WMS or WFS into the Layer view
- You can specify exactly where in the Layer view you wish to add the Layer
- The resource selection page will open up to allow you to choose which layers to add
- The layer(s) will be created (with a default style) and added to your map
- Select Files Cannot resolve external resource into attachment. from the Wizard
- Select Shape files to import and press Open
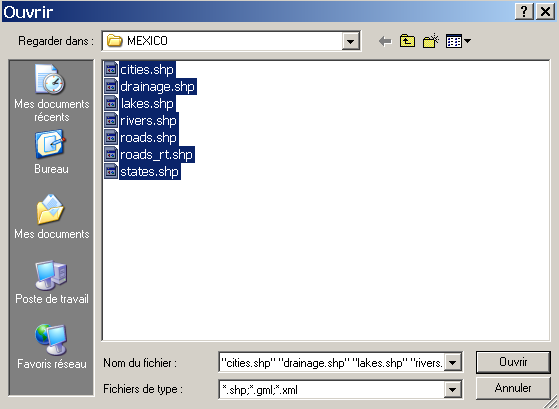
Shape files will be imported and displayed in the map editor

Related concepts
Related tasks